Hail Damage Roof Claim: A Step-by-Step Playbook
How to document hail damage, hire a public adjuster, and avoid the most common claim denial reasons.
Hailstorms can inflict significant damage on your roof, often necessitating a full replacement. Navigating the insurance claim process can feel overwhelming, especially when faced with extensive repairs. Understanding the proper steps to take, from initial damage assessment to final settlement, is crucial for a successful outcome. This guide provides a clear roadmap for homeowners in 2026, helping you secure the coverage you deserve for hail-related roof damage.
Documenting Hail Damage Immediately After a Storm
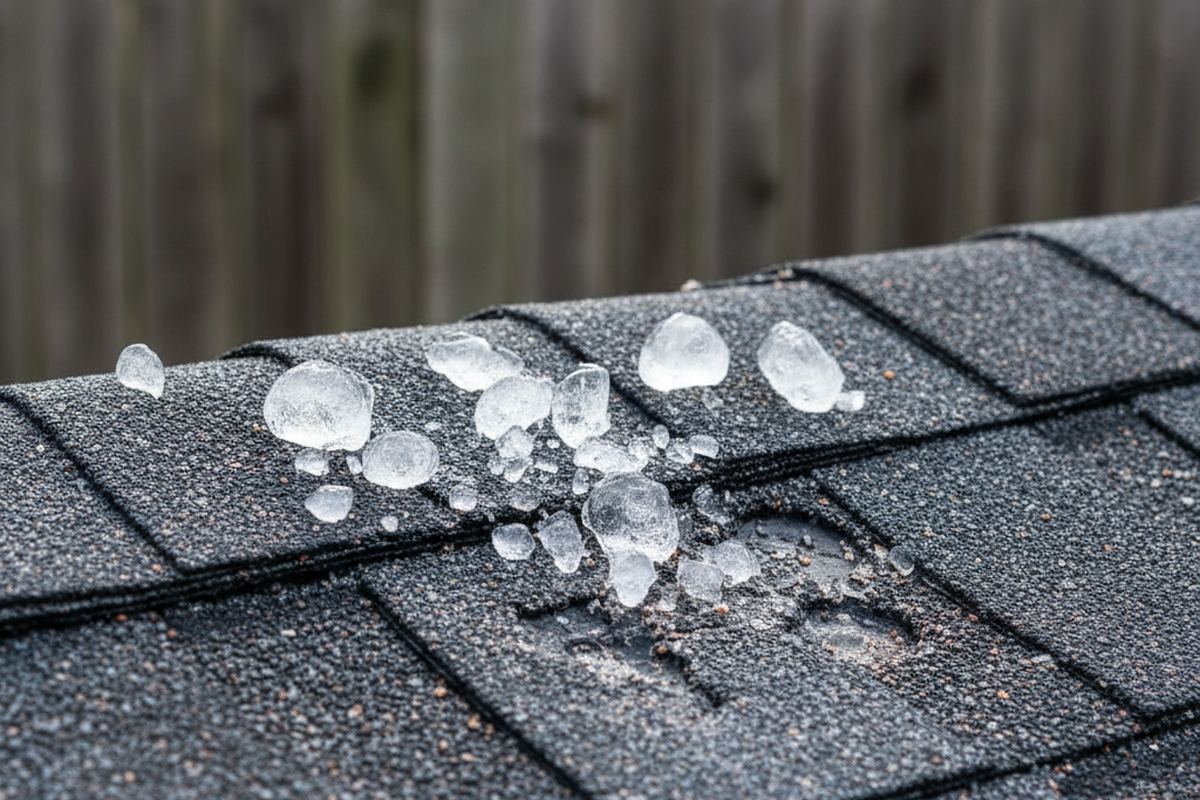
The first critical step after a hailstorm is to thoroughly document any visible damage. While safety is paramount, if it's safe to do so, take clear, well-lit photographs and videos of compromised shingles, gutters, vents, and any interior leaks. Include a timestamp or date in your documentation if possible. This initial evidence forms the foundation of your claim and provides a baseline for your insurance company.
Beyond photographic evidence, make a detailed written log of all observed damage, noting the date and time of the storm. If neighbors also sustained damage, consider documenting that as well, as it can support the widespread nature of the event. Do not attempt to climb onto your roof yourself unless you are a trained professional; leave that to certified inspectors to avoid further damage or personal injury.
Notifying Your Insurance Company Promptly
Once you have initial documentation, contact your insurance provider as soon as possible to report the potential damage. Most policies have specific timeframes for reporting claims, typically ranging from 30 to 90 days, but reporting sooner is always better. Provide them with your policy number and a brief, factual description of the damage you've observed. Avoid speculating about the cause or extent of damage at this stage.
During this initial call, ask about your policy's specific coverage for hail damage, your deductible, and the next steps in their claims process. Request a claim number and the contact information for the assigned adjuster. Keep a meticulous record of all communications, including dates, times, names of representatives, and summaries of discussions. This documentation is invaluable if disputes arise later.
Understanding Your Policy's Coverage and Deductibles
Before an adjuster arrives, review your homeowner's insurance policy carefully. Pay close attention to sections detailing roof coverage, depreciation clauses (e.g., Actual Cash Value vs. Replacement Cost Value), and your deductible. Most standard policies cover sudden and accidental damage from hail. For 2026, typical deductibles for roof claims can range from 1% to 2% of your dwelling's insured value, which for a $400,000 home means a $4,000 to $8,000 out-of-pocket expense.
Understanding whether your policy pays out on an Actual Cash Value (ACV) or Replacement Cost Value (RCV) basis is critical. ACV policies factor in depreciation, meaning you'll receive less than the cost of a new roof. RCV policies, while often more expensive, pay the full cost to replace the roof with new materials of similar kind and quality, up to your policy limits. Some RCV policies pay ACV initially, then the depreciation hold-back once the work is completed and proof of payment is submitted.
Estimate roof replacement cost by square footage, pitch, and material — get a realistic 2026 number in under a minute.
Open the Roof Replacement CalculatorThe Role of a Public Adjuster in Complex Claims
For significant hail damage or if you anticipate challenges with your insurer, consider hiring a public adjuster. Unlike the adjuster assigned by your insurance company, a public adjuster works exclusively for you, the homeowner. They are licensed professionals who interpret your policy, document damage, estimate repair costs, and negotiate with your insurer on your behalf. Their fees, typically 10% to 15% of the claim settlement, are often worth it for larger, more complex claims.
A public adjuster can be particularly beneficial if your claim is initially denied, or if the insurer's offer seems insufficient to cover the full cost of replacement. They possess expertise in insurance policy language and construction costs, which can level the playing field during negotiations. Interview several public adjusters to find one with a strong track record and clear fee structure.
Navigating the Insurance Adjuster's Inspection
When the insurance company's adjuster comes to inspect your roof, be present if possible. Provide them with all the documentation you've gathered, including photos, videos, and your written log. Point out specific areas of concern you've identified. While the adjuster will conduct their own assessment, your detailed information can ensure nothing is overlooked. Ask questions about their findings and the next steps in the process.
It's advisable to also have a reputable local roofing contractor present during the adjuster's inspection. A contractor can offer a professional opinion on the extent of the damage and discuss repair methods directly with the adjuster. This collaboration can help ensure a comprehensive assessment and a more accurate repair estimate, streamlining the claim approval process.
Avoiding Common Claim Denial Reasons
Several factors can lead to a hail damage claim denial. One common reason is 'wear and tear' – if the roof was already old or significantly deteriorated before the storm, the insurer might argue the damage wasn't solely hail-related. This underscores the importance of maintaining your roof and having it inspected periodically. Another reason is insufficient documentation; without clear evidence, it's harder to prove the damage occurred due to the specific event.
Policy exclusions, such as those for certain types of roofing materials or pre-existing conditions, can also result in denial. Review your policy carefully to understand any limitations. Finally, delaying reporting the claim beyond your policy's specified timeframe can be grounds for denial. Prompt action, thorough documentation, and understanding your policy are key to a successful claim.
Preparing for Roof Replacement and Finalizing Your Claim
Once your claim is approved and you receive a settlement offer, carefully review it against your contractor's estimate. Ensure the offer covers all necessary costs, including materials, labor, permits, and any code upgrades required by 2026 building standards. If there's a discrepancy, work with your contractor or public adjuster to negotiate with the insurer. Most insurance companies will issue payment in two installments, holding back depreciation until the work is completed.
Choose a reputable, licensed, and insured roofing contractor for your replacement. Obtain multiple bids and check references. Confirm they will handle all necessary permits and adhere to local building codes. Once the work is complete, provide your insurer with a certificate of completion and final invoices to receive the remaining depreciation payment. This final step ensures you've received the full compensation due under your policy.
The bottom line
Successfully navigating a hail damage roof claim requires diligence and a clear understanding of the process. By documenting damage thoroughly, communicating promptly with your insurer, and understanding your policy, you can significantly improve your chances of a favorable outcome. Taking these steps ensures your home is protected and your roof replacement proceeds smoothly.
Get more guidance like this in your inbox
Weekly emergency-fund tactics, milestone checklists, and the next article — delivered free.
Run your own number
Get a personalized emergency fund target based on your income, expenses, and job stability.
Open the calculator