How to Prep Soil Before Seeding (5-Step Playbook)
The 5 soil prep steps that get 90%+ germination — from soil test to starter fertilizer.
A thriving, resilient lawn begins well before you scatter the first seeds. The health and structure of your soil are foundational to successful germination and sustained growth. Neglecting proper soil preparation can lead to sparse patches, weed infestations, and a significant waste of time and resources. This guide outlines the essential steps to ready your soil, ensuring your new lawn has the best possible start for dense, vibrant turf.
Assess Your Current Soil Condition
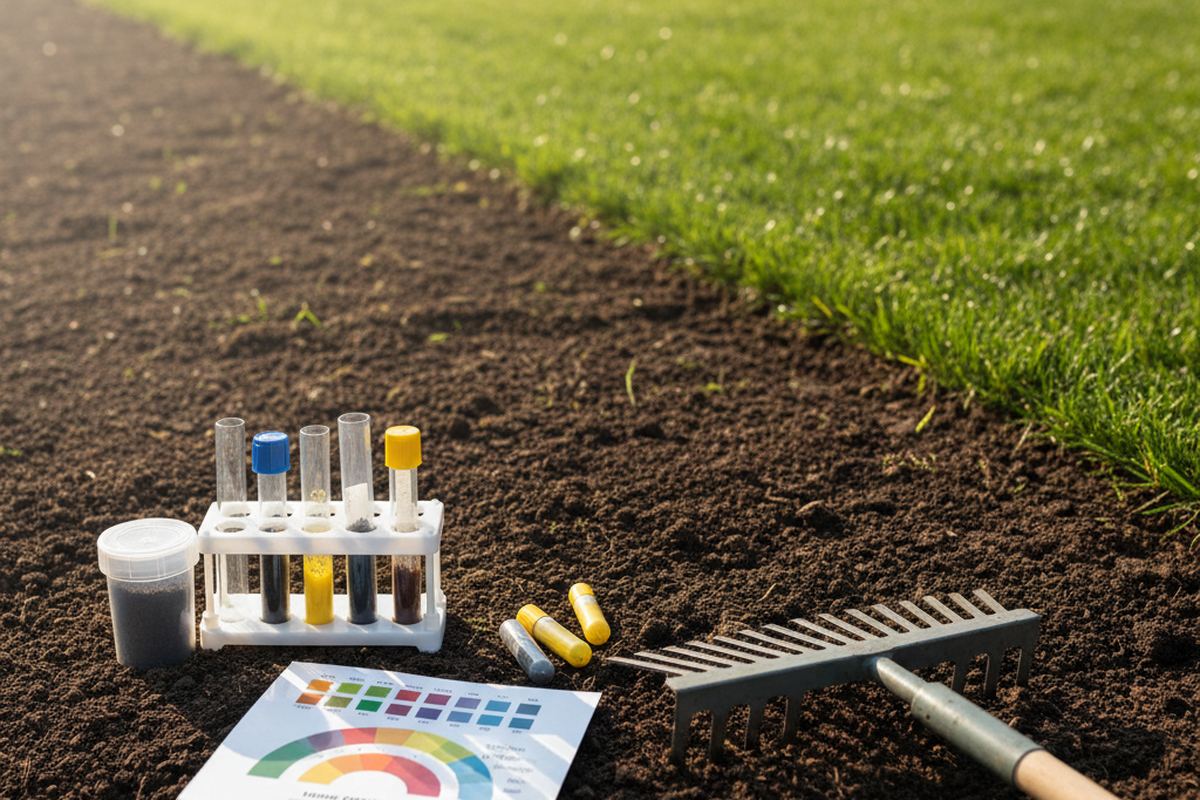
Before any significant work begins, understanding your soil's current state is crucial. A professional soil test provides detailed insights into pH levels, nutrient deficiencies, and organic matter content. You can purchase DIY kits or send samples to a local university extension office for a comprehensive analysis. This step eliminates guesswork and informs precise amendments, preventing over-application of fertilizers or unnecessary treatments.
A standard soil test typically costs between $15 and $30 and offers recommendations tailored to your specific soil type and desired turf. Expect results within one to three weeks. Without this data, you might be guessing at your soil's needs, potentially harming future growth or failing to address underlying issues critical for strong root development.
Clear the Area and Remove Debris
Once you understand your soil, the next step is to prepare the physical space. Remove all existing weeds, rocks, construction debris, or old turf. For small areas, hand-weeding or using a sod cutter can be effective. For larger spaces, consider renting a tiller or hiring a professional to clear the ground. Ensure the area is free of any obstacles that could impede seed-to-soil contact or future mowing.
Eliminating existing vegetation, especially perennial weeds, is vital. If left unchecked, these weeds will compete with your new grass for water, nutrients, and sunlight, significantly hindering germination and establishment. Proper clearing creates a clean slate for your new lawn to flourish without immediate competition.
Address Soil Compaction and Improve Drainage
Compacted soil is a common problem that restricts root growth, water infiltration, and nutrient absorption. If your soil test indicates compaction or if water tends to puddle in areas, aeration is necessary. For small areas, a manual core aerator can be used; for larger lawns, renting a power aerator is more efficient. This process creates small holes, allowing air, water, and nutrients to penetrate deeper into the root zone.
After aeration, consider adding a layer of organic matter, such as compost or well-rotted manure, especially if your soil is heavy clay or very sandy. Spread a 1-2 inch layer across the area and work it into the top 4-6 inches of soil using a tiller or spade. Organic matter improves soil structure, enhances drainage in clay soils, and increases water retention in sandy soils, creating an ideal environment for new seeds.
Get the exact pounds of seed you need for your lawn size, grass type, and overseeding vs new lawn.
Open the Lawn Seed CalculatorLevel the Surface and Refine the Seedbed
A smooth, even surface is essential for uniform germination and easy mowing in the future. After incorporating amendments, use a rake or landscape grader to level the area, filling in low spots and knocking down high ones. Aim for a gentle slope away from structures to prevent water accumulation. This step ensures that all seeds have comparable access to moisture and sunlight.
Once leveled, lightly compact the soil. You can do this by walking over the area with small, even steps or by using a lawn roller. The goal is firm but not overly compacted soil, preventing seeds from washing away and promoting good seed-to-soil contact without hindering root penetration. The final surface should be finely textured and free of large clods.
Apply Starter Fertilizer and Pre-Water
With the soil prepared and leveled, the final step before seeding is to apply a starter fertilizer. These fertilizers are specifically formulated with a higher phosphorus content to promote strong root development in new seedlings. Follow the product's application rates carefully, typically around 0.5-1 pound of nitrogen per 1,000 square feet, ensuring even distribution with a spreader. Your soil test results will help you choose the most appropriate formulation.
After applying fertilizer, lightly water the prepared area. This pre-watering helps settle the soil, activates the starter fertilizer, and ensures there is adequate moisture for the seeds once they are applied. The soil should be moist, not saturated, to encourage germination without creating a muddy environment. This final preparation sets the stage for optimal seed-to-soil contact and robust initial growth.
Protecting Your Seedbed Post-Seeding
Once your seeds are sown, protecting the delicate seedbed is paramount. Lightly rake the seeds into the top 1/8 to 1/4 inch of soil to ensure good seed-to-soil contact and prevent them from being washed away or eaten by birds. For added protection and moisture retention, consider applying a thin layer of straw or a germination blanket over the seeded area. This helps maintain consistent moisture and soil temperature, both critical for successful germination.
Consistent, light watering is crucial immediately after seeding. Keep the top inch of soil continuously moist, but avoid overwatering, which can lead to runoff and seed displacement. Short, frequent watering sessions throughout the day are more effective than infrequent, heavy watering. Continue this watering regimen until the new grass is well-established, typically a few weeks after germination begins.
Ongoing Nurturing for a Strong Foundation
Even after germination, your new lawn requires attentive care. Resist the urge to mow until the grass blades are at least 3-4 inches tall, allowing the root system to develop strength. When you do mow, set your mower to its highest setting and only remove the top one-third of the blade length. This minimizes stress on the young grass and encourages deeper root growth.
Continue to monitor soil moisture and adjust your watering schedule as the grass matures. A deep, infrequent watering approach becomes more appropriate as the roots grow deeper. Avoid applying broadleaf herbicides until your new lawn has been mowed several times, as young grass is more susceptible to damage. Patience and consistent care during these early months will establish a dense, healthy lawn for years to come.
The bottom line
By following these five foundational steps, you significantly increase the likelihood of achieving a lush, healthy lawn. Proper soil preparation is an investment that pays dividends in vibrant turf and reduced maintenance challenges down the line. Take the time to prepare your soil thoughtfully, and your lawn will thank you with robust growth and enduring beauty.
Get more guidance like this in your inbox
Weekly emergency-fund tactics, milestone checklists, and the next article — delivered free.
Run your own number
Get a personalized emergency fund target based on your income, expenses, and job stability.
Open the calculator