Removing Old Tile: The 3-Day Job Most Homeowners Underestimate
Real cost, tools, and dust management for old tile demo before a new install.
Removing old tile can seem like a straightforward first step in a renovation, but it often presents unexpected challenges. Homeowners and even some professionals frequently underestimate the time, effort, and specialized tools required for a clean, efficient demolition. From dealing with stubborn thinset to managing pervasive dust, proper planning is essential to avoid delays and added costs. Understanding the scope upfront can help you prepare for a smoother transition to your new tile installation.
Assessing the Scope and Substrate
Before any demolition begins, thoroughly assess the existing tile and the substrate beneath it. Ceramic and porcelain tiles are generally harder to remove than softer natural stones. Pay close attention to the type and condition of the subfloor or wallboard. If the existing tile was installed over concrete, removal can be more labor-intensive than if it was on cement board or plywood. Identifying the substrate early will dictate the tools and techniques you'll need, and help you anticipate potential damage.
Consider the age of the installation; older tile often used thicker, more tenacious mortar beds which are significantly harder to break up. Inspect for any signs of water damage, mold, or structural issues, particularly in bathrooms or kitchens. These underlying problems must be addressed before new tile can be installed, potentially adding to the project's timeline and complexity. A careful initial assessment can prevent costly surprises down the line.
Essential Tools for Efficient Demolition
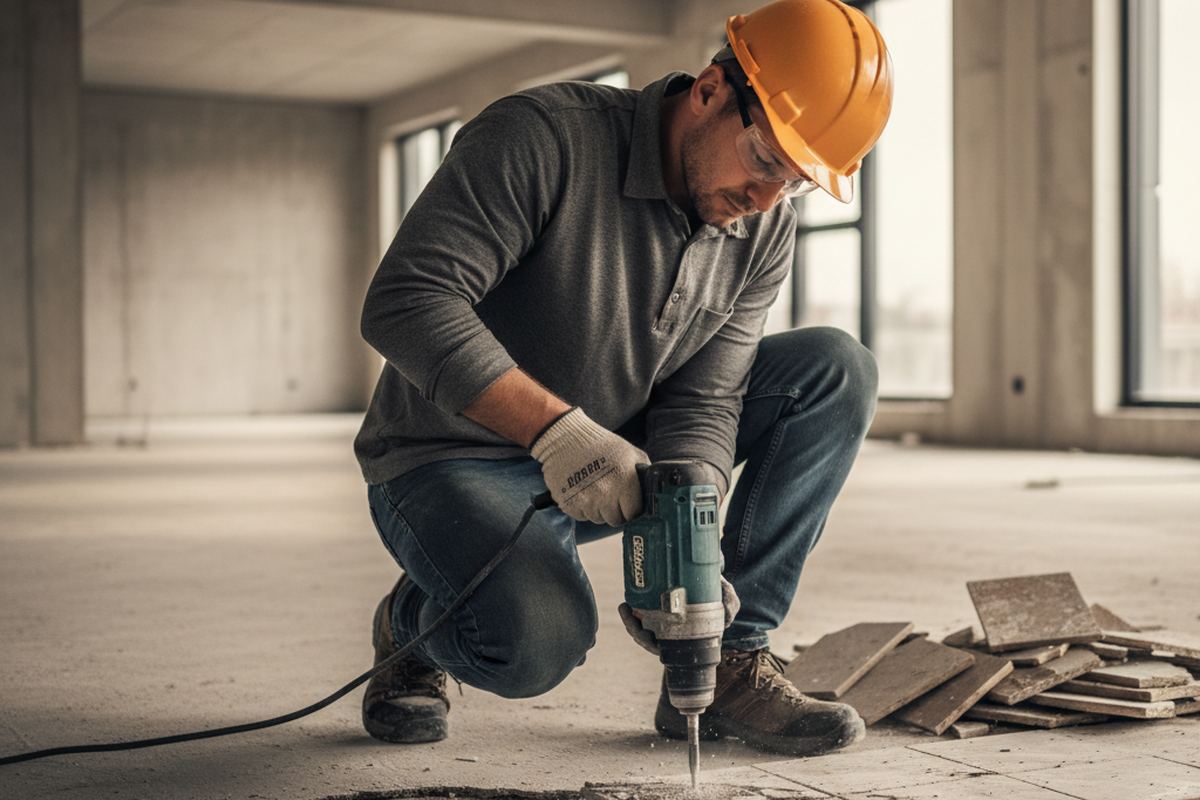
Equipping yourself with the right tools is crucial for efficient tile removal. For floors, a demolition hammer with a chisel bit is invaluable for breaking up large sections of tile and thinset. Manual options include a heavy-duty pry bar, a wide chisel, and a sledgehammer. For wall tile, a pry bar or a smaller hammer drill with a chisel attachment can be more maneuverable. Always have a shop vacuum on hand for immediate debris and dust control.
Don't overlook personal protective equipment (PPE). Safety glasses or goggles, heavy-duty gloves, a dust mask or respirator (N95 or better), and ear protection are non-negotiable. Falling tile shards, airborne silica dust, and loud impacts pose significant health risks. Investing in quality PPE protects you throughout the often-grueling demolition process, ensuring your safety as the priority.
Dust Management Strategies
Tile demolition generates an immense amount of fine dust, primarily from thinset and grout. This dust can spread throughout your home, posing health risks and requiring extensive cleanup. Effective dust management starts with isolating the work area. Use plastic sheeting and painter's tape to seal off doorways, vents, and any openings leading to other parts of the house. Consider setting up a temporary negative air pressure system with a box fan exhausting to the outside through a window.
During demolition, run a shop vacuum continuously, especially one with a HEPA filter, to capture airborne particles at the source. Regularly misting the work area with water can help settle dust, but avoid over-wetting, which can create mud and complicate cleanup. After the main demolition, use the shop vacuum to clean all surfaces, followed by wiping with damp cloths. Proper dust control protects your health and significantly reduces post-project cleaning efforts.
Calculate how many tiles you need — with pattern waste, thinset, and grout coverage included.
Open the Tile CalculatorTechniques for Removing Tile and Thinset
Start by removing grout lines where possible, as this can weaken the bond of the tiles. For floor tile, begin in a corner or near an edge, using your pry bar or chisel to get underneath the first tile. Apply steady, upward pressure. If using a demolition hammer, angle the chisel bit to slide under the tile, allowing the tool to do the heavy lifting. Work systematically across the area, breaking tiles into manageable pieces.
Once tiles are removed, the next challenge is often the remaining thinset or mortar. For concrete subfloors, a chipping hammer with a wide chisel bit is effective for scraping off stubborn thinset. For wood or cement board substrates, be careful not to damage the underlying material. Sometimes, a floor scraper with a long handle can remove most of the residual thinset, leaving a relatively smooth surface suitable for new tile installation, provided it meets flatness requirements.
Disposing of Demolition Debris
Tile and thinset debris are heavy and bulky, so plan for disposal in advance. A standard 10x10 foot room of floor tile can easily generate several hundred pounds of waste. Consider renting a small dumpster or using heavy-duty contractor bags if the volume is manageable. Check with your local waste management services for specific regulations regarding construction and demolition debris, as some materials may require special handling or recycling.
Factor in the cost of disposal when budgeting your project. Dumpster rental can range from $300 to $600 for smaller sizes, while contractor bags and trips to the local transfer station will incur per-bag or per-weight fees. Proper disposal not only keeps your worksite clean but also adheres to environmental regulations, preventing illegal dumping and ensuring a responsible end to your demolition waste.
Realistic Timelines and Costs
Removing old tile, especially from a larger area or when dealing with difficult thinset, is rarely a quick task. For an average 100-square-foot room, a DIYer might expect to spend 1-2 full days on just the demolition, plus additional time for cleanup and substrate preparation. Professionals, with specialized equipment, might complete a similar area in 4-8 hours. The '3-day job' estimate often includes setup, demolition, cleanup, and initial substrate prep, which is a more realistic timeframe for many homeowners.
Costs can range widely. If hiring a professional for demolition, expect to pay between $2 to $7 per square foot, depending on the tile type, substrate, and complexity. This covers labor, tools, and often debris removal. DIY costs primarily involve tool rental (demolition hammer: $50-$100/day), PPE ($30-$70), and disposal fees ($50-$200+). Overlooking these costs can quickly inflate your project budget. Always factor in a contingency for unexpected issues like subfloor repairs.
Preparing for the New Installation
After demolition and cleanup, the substrate must be properly prepared for the new tile. This typically involves ensuring the surface is clean, dry, level, and structurally sound. Any remaining thinset residue must be removed to create a smooth base. For concrete, grinding may be necessary to achieve the desired flatness. For wood subfloors, ensure there are no loose boards and consider adding an additional layer of plywood or cement board for stability.
Leveling compounds may be required to address dips or unevenness, especially critical for larger format tiles. A properly prepared substrate is the foundation for a durable and aesthetically pleasing tile installation. Skipping this crucial step can lead to cracked tiles, uneven surfaces, and premature grout failure, ultimately compromising the longevity of your new floor or wall.
The bottom line
Removing old tile is a physically demanding and often dirty job, but with careful planning, the right tools, and a focus on safety, it's a manageable part of any renovation. Understanding the process and potential challenges upfront helps ensure a smoother transition to your new tile project. Take your time, prioritize preparation, and you'll set the stage for a successful and lasting installation.
Get more guidance like this in your inbox
Weekly emergency-fund tactics, milestone checklists, and the next article — delivered free.
Run your own number
Get a personalized emergency fund target based on your income, expenses, and job stability.
Open the calculator