How to Calculate Tile: A Foolproof Guide (2026)
A step-by-step guide to calculating how many tiles you need for any room, including waste factor by pattern.
Accurately calculating the number of tiles needed for a project is crucial for staying within budget and avoiding costly delays. Ordering too few tiles can halt progress, while ordering too many leads to unnecessary expense and storage issues. This guide provides a straightforward method to determine your precise tile requirements, accounting for various patterns and potential waste. By following these steps, you can approach your tiling project with confidence, ensuring you have just the right amount of material.
Measure Your Space Accurately
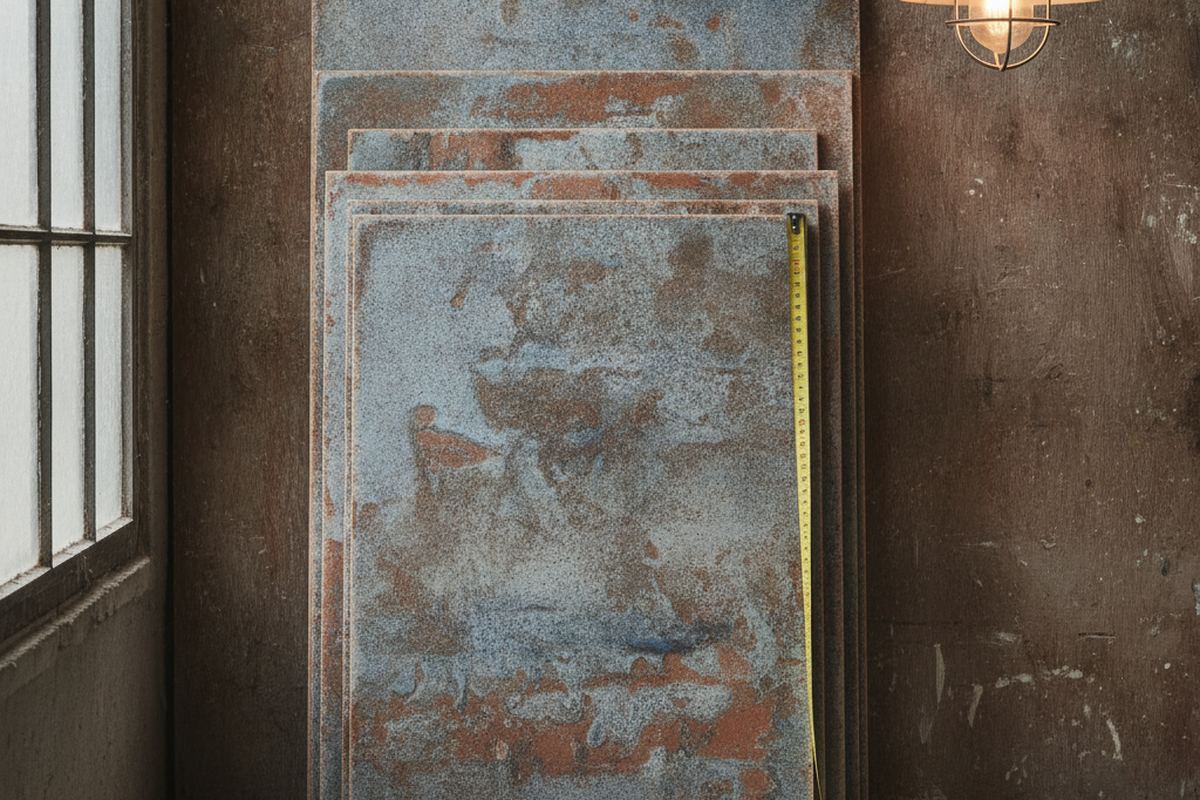
The first step in any tiling project is to precisely measure the area you intend to cover. For rectangular or square rooms, measure the length and width of the space in feet, then multiply these two figures to get the total square footage. If your room has an irregular shape, divide it into smaller, manageable rectangles or squares, calculate the area of each section, and then sum them up for the total. Always double-check your measurements to prevent errors later on.
When measuring walls, determine the height and width of each wall section that will be tiled. Remember to subtract the area of any permanent fixtures like windows, doors, or built-in cabinets that will not be tiled. For backsplashes, measure the linear feet and the height of the area. Converting all measurements to a consistent unit, such as square feet, simplifies subsequent calculations significantly.
Account for Tile Size and Grout Lines
While often overlooked, the size of your chosen tile and the width of your grout lines both impact the total area covered. Larger tiles generally cover more square footage per piece, while smaller tiles require more individual pieces to cover the same area. The grout lines, though small individually, add up across an entire surface, slightly increasing the overall area covered per tile and grout assembly.
It's generally recommended to base your initial square footage calculation on the room dimensions, and then apply a waste factor. The waste factor inherently accounts for grout lines, cuts, and potential breakage. You don't usually need to subtract grout line area from your total square footage when calculating tile quantities, as the waste factor will cover these minor discrepancies and give you a buffer.
Understand the Waste Factor
The waste factor is an essential buffer that accounts for cuts, breakage, and future repairs. It's a percentage added to your total measured square footage. The specific percentage depends on the tile pattern, room complexity, and your experience level. Overlooking this factor is a common mistake that can lead to project delays and additional costs.
A standard waste factor for simple straight-lay patterns in a rectangular room is typically 10%. For more complex patterns, diagonal layouts, or rooms with many angles and obstacles, you might need to increase this to 15-20%. Large format tiles, due to their increased difficulty in cutting and handling, may also warrant a slightly higher waste factor, even for a straightforward pattern. Always round up your final tile count to ensure you have enough.
- Straight-lay pattern: 10% waste factor
- Diagonal or herringbone pattern: 15-20% waste factor
- Complex rooms (many corners, obstacles): 15% waste factor
- Large format tiles (over 12x24 inches): Add an additional 2-3%
Calculate how many tiles you need — with pattern waste, thinset, and grout coverage included.
Open the Tile CalculatorCalculating Tiles for Different Patterns
The chosen tile pattern significantly influences the amount of material needed due to varying cutting requirements. A straight-lay pattern, where tiles are installed in a grid, typically generates the least waste. This allows for a lower waste factor, as most cuts are simple straight lines along the edges of the room. This is the most efficient pattern in terms of material usage.
Diagonal and herringbone patterns, however, require more intricate cuts and often result in more unusable off-cuts. For instance, a diagonal pattern often necessitates cutting every tile that meets a wall at an angle, leading to more material being discarded. Similarly, the interlocking nature of a herringbone pattern means more precise, often smaller, cuts and therefore a higher waste factor is prudent to ensure sufficient material is on hand.
Determine Boxes Needed and Budgeting
Once you have your total square footage (including the waste factor), divide this by the square footage covered per box of your chosen tile. Tile packaging clearly states the coverage per box, usually in square feet or square meters. Always round up to the nearest whole number of boxes, as you cannot purchase partial boxes. For example, if you need 105 square feet and each box covers 10 square feet, you would need 11 boxes (105 / 10 = 10.5, rounded up to 11).
When budgeting, consider not just the tile cost but also expenses for grout, thinset, spacers, sealant, and any specialized tools. These ancillary materials can add a significant amount to your overall project cost. Comparing prices from different suppliers and factoring in shipping costs for online purchases can help you manage your budget effectively. Having a small amount of extra tile is also valuable for future repairs.
Practical Tips for Ordering and Installation
When placing your order, ensure all tiles come from the same dye lot, if possible. Variations in dye lots can lead to noticeable color differences, especially with natural stone or ceramic tiles. Check with your supplier about their return policy for unopened boxes, as this can be useful if you significantly overestimate your needs. However, prioritize having enough, as dye lot inconsistencies can make matching difficult if you need to reorder.
Before beginning installation, dry-lay a section of your tiles without adhesive to visualize the pattern and make any necessary adjustments. This allows you to confirm your layout, assess how cuts will fall, and ensure you are happy with the aesthetic before committing. Organize your tiles by opening several boxes and mixing them to ensure an even distribution of any natural variations in color or pattern across the entire installation.
The bottom line
By systematically measuring, calculating waste factors, and understanding tile packaging, you can accurately determine the exact amount of tile required for your project. This methodical approach minimizes errors, saves money, and ensures a smoother, more efficient installation process. Taking the time upfront for precise calculations will pay dividends in the successful completion of your tiling endeavor.
Get more guidance like this in your inbox
Weekly emergency-fund tactics, milestone checklists, and the next article — delivered free.
Run your own number
Get a personalized emergency fund target based on your income, expenses, and job stability.
Open the calculator